Sharing agents
You built an agent and want a colleague to work with it? This page shows, step by step, how to share your agent with someone whose platform role is Basic. Basic is the default role: it can use agents and its own resources but cannot create agents itself.
Only the agent's owners and administrators can share it. Whoever creates an agent is its owner. Owner, Editor and Viewer are the roles for sharing an agent. They are separate from the owners and editors who administer an agent in the admin area.
Two ways
| Personal invitation | ChatBot link | |
|---|---|---|
| For | one specific person | any number of people |
| Link | can be accepted once | can be used any number of times |
| Role | your choice: Viewer, Editor, Owner | chat only, or a copy of their own per person |
| Removing access | one by one, in the member list | only when sharing the agent itself: one by one, or for everyone by switching the link off. Copies already handed out stay with their holders. |
For a Basic user who should only use the agent, we recommend a personal invitation with the Viewer role.
Way A: personal invitation
1. Open the configuration
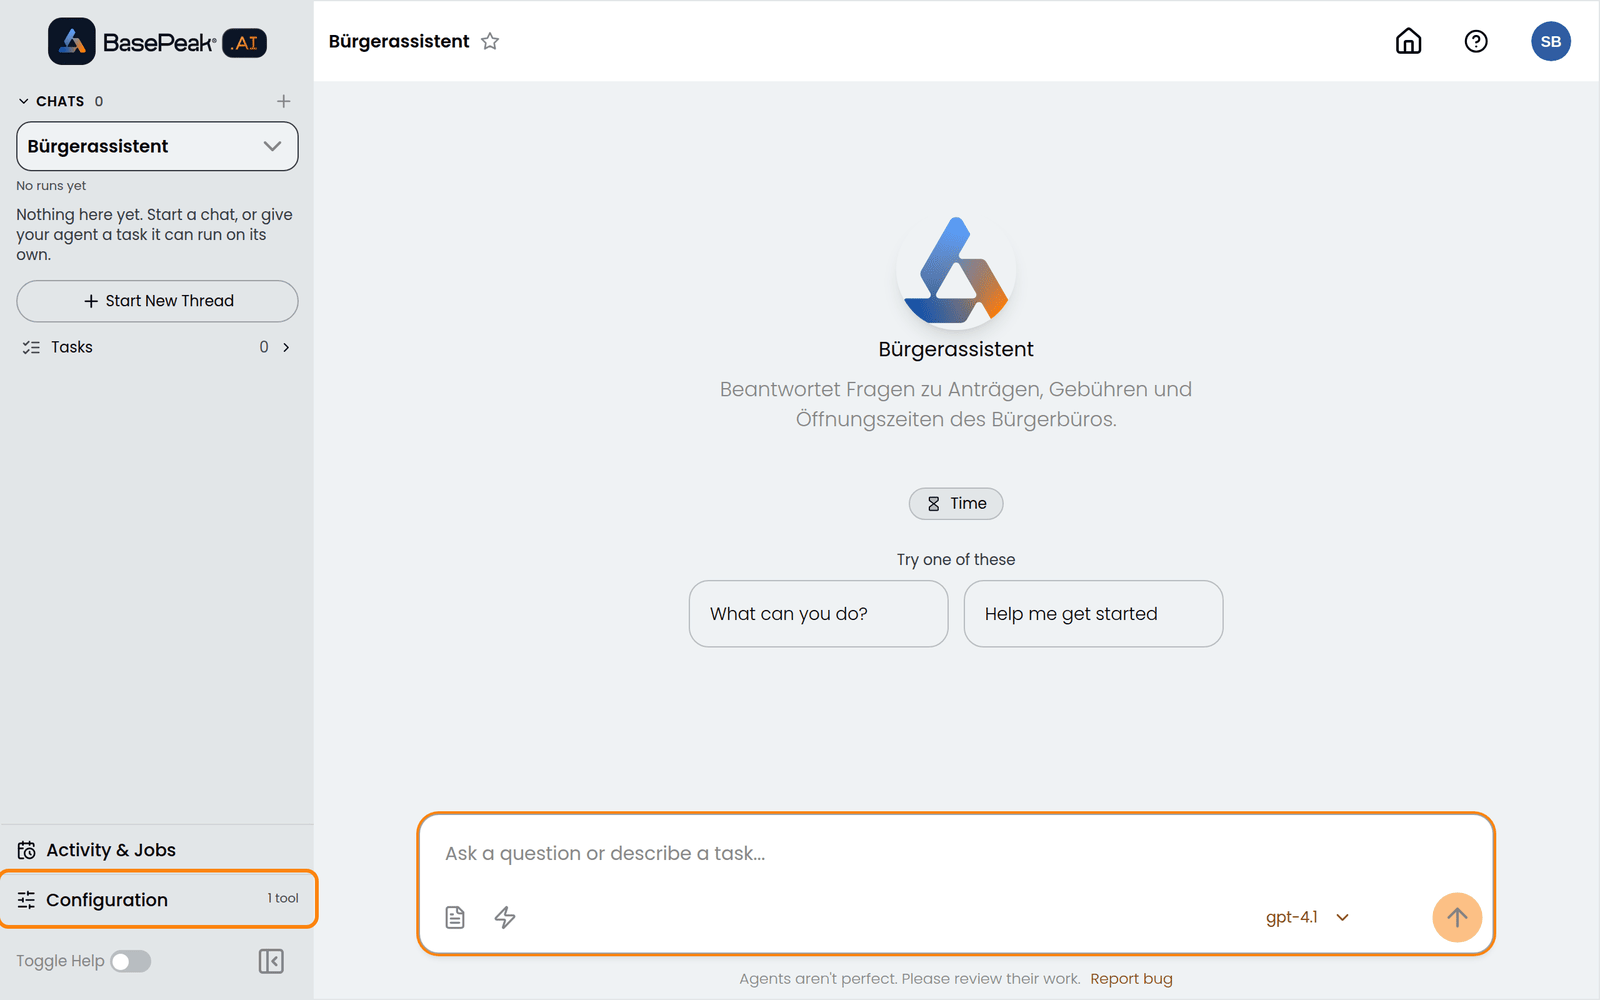
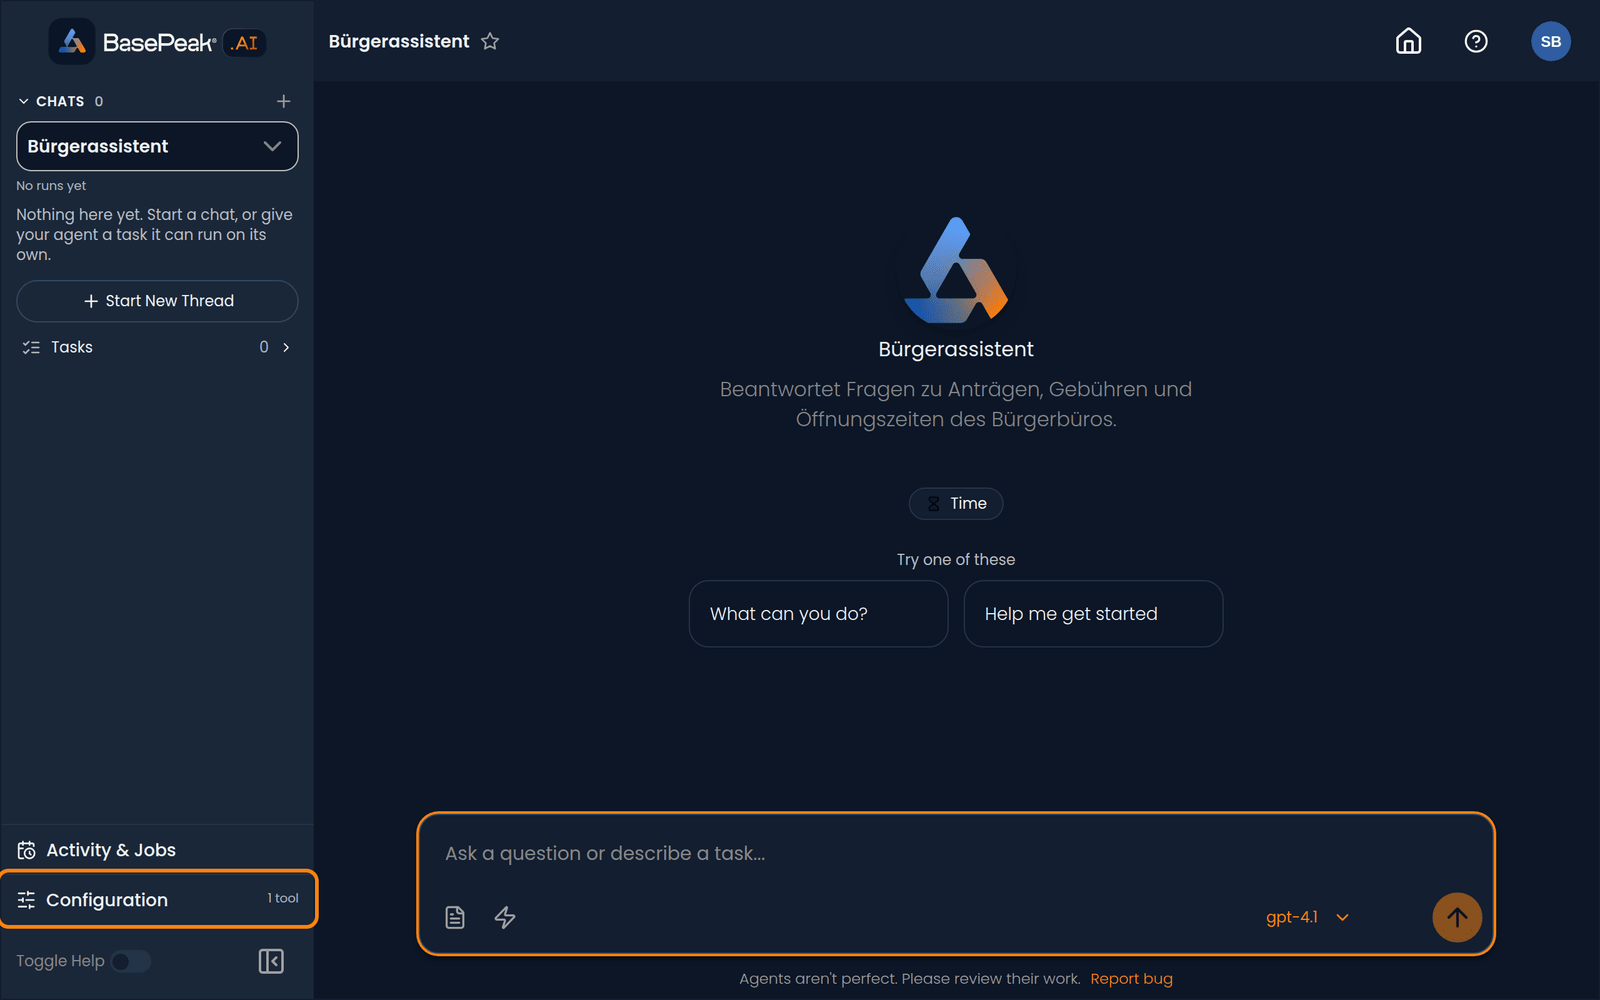
Open the agent and click Configuration at the bottom of the left sidebar. If the entry is missing, you are not an owner of this agent. With the Editor role you see it, but the + in step 2 is missing.
2. Sharing → Members → manage invitations
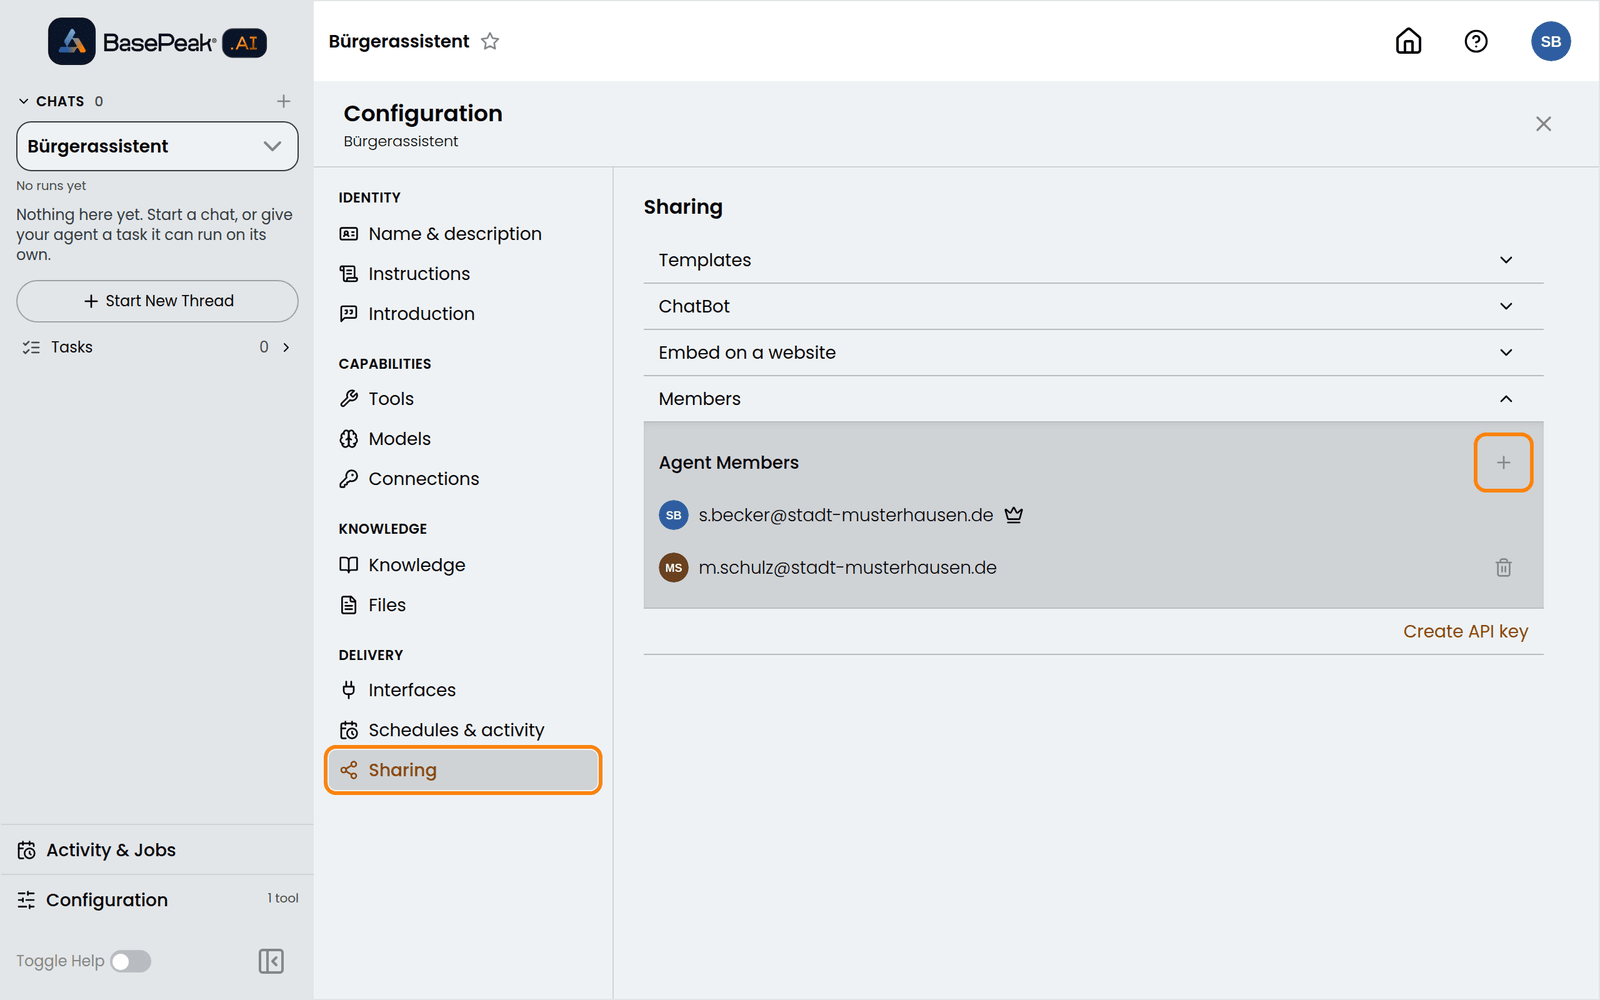
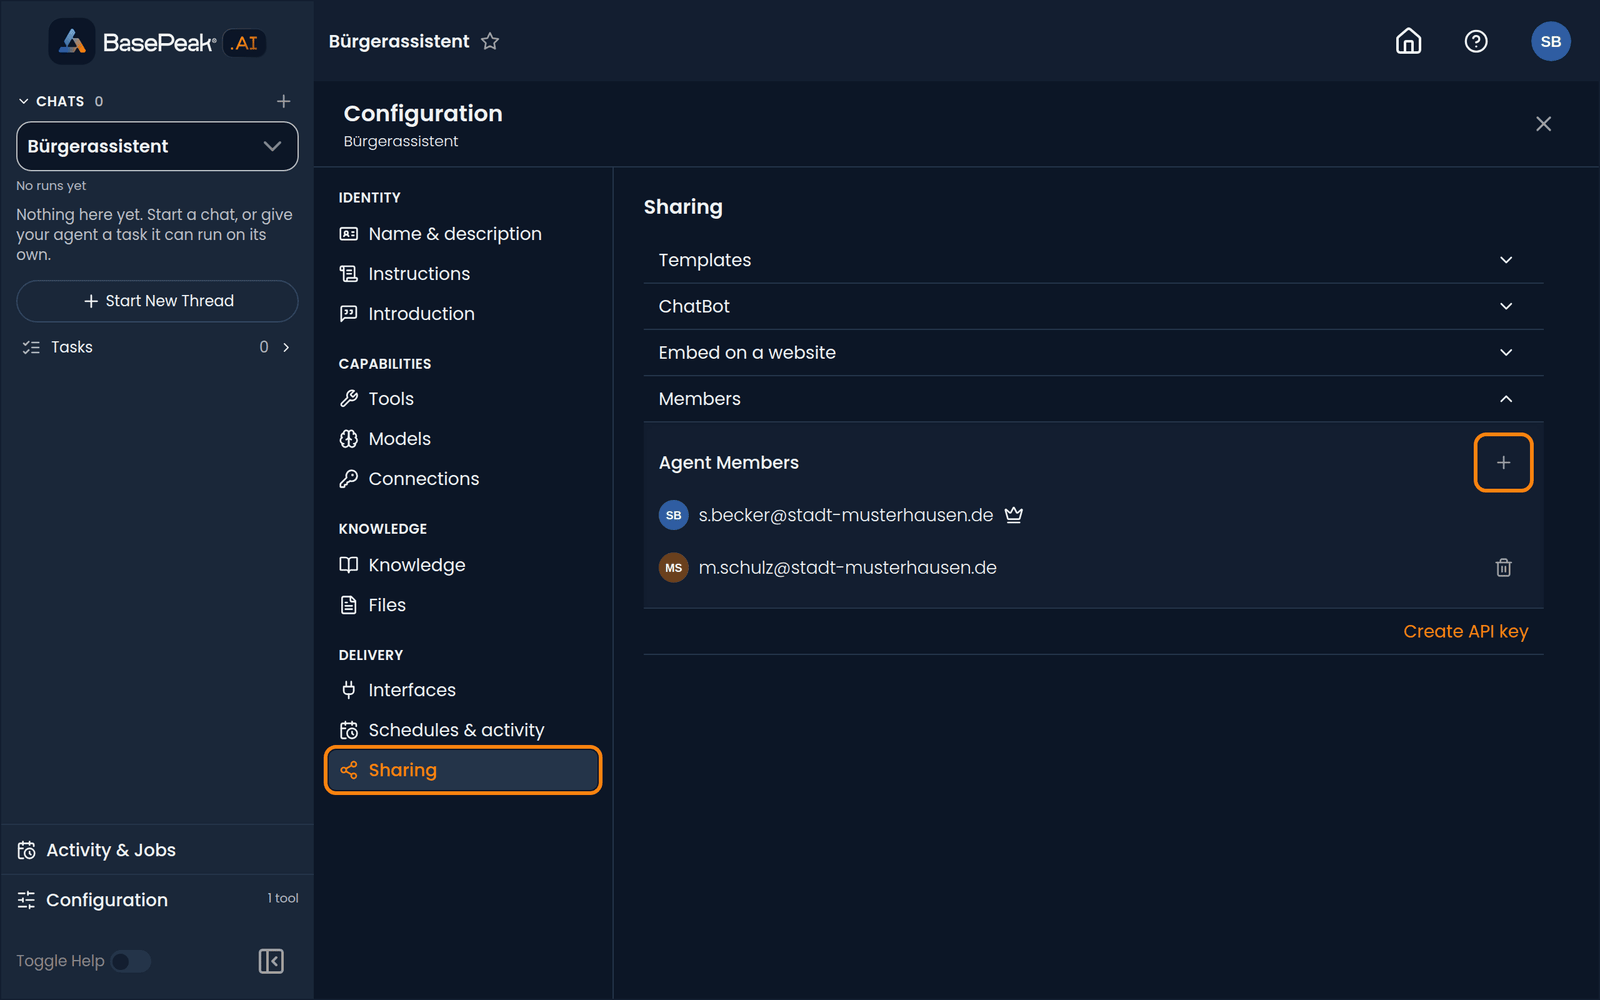
In the Delivery group choose Sharing and expand Members. The + next to Agent Members opens the Manage Agent Members page.
3. Choose a role and create the invitation
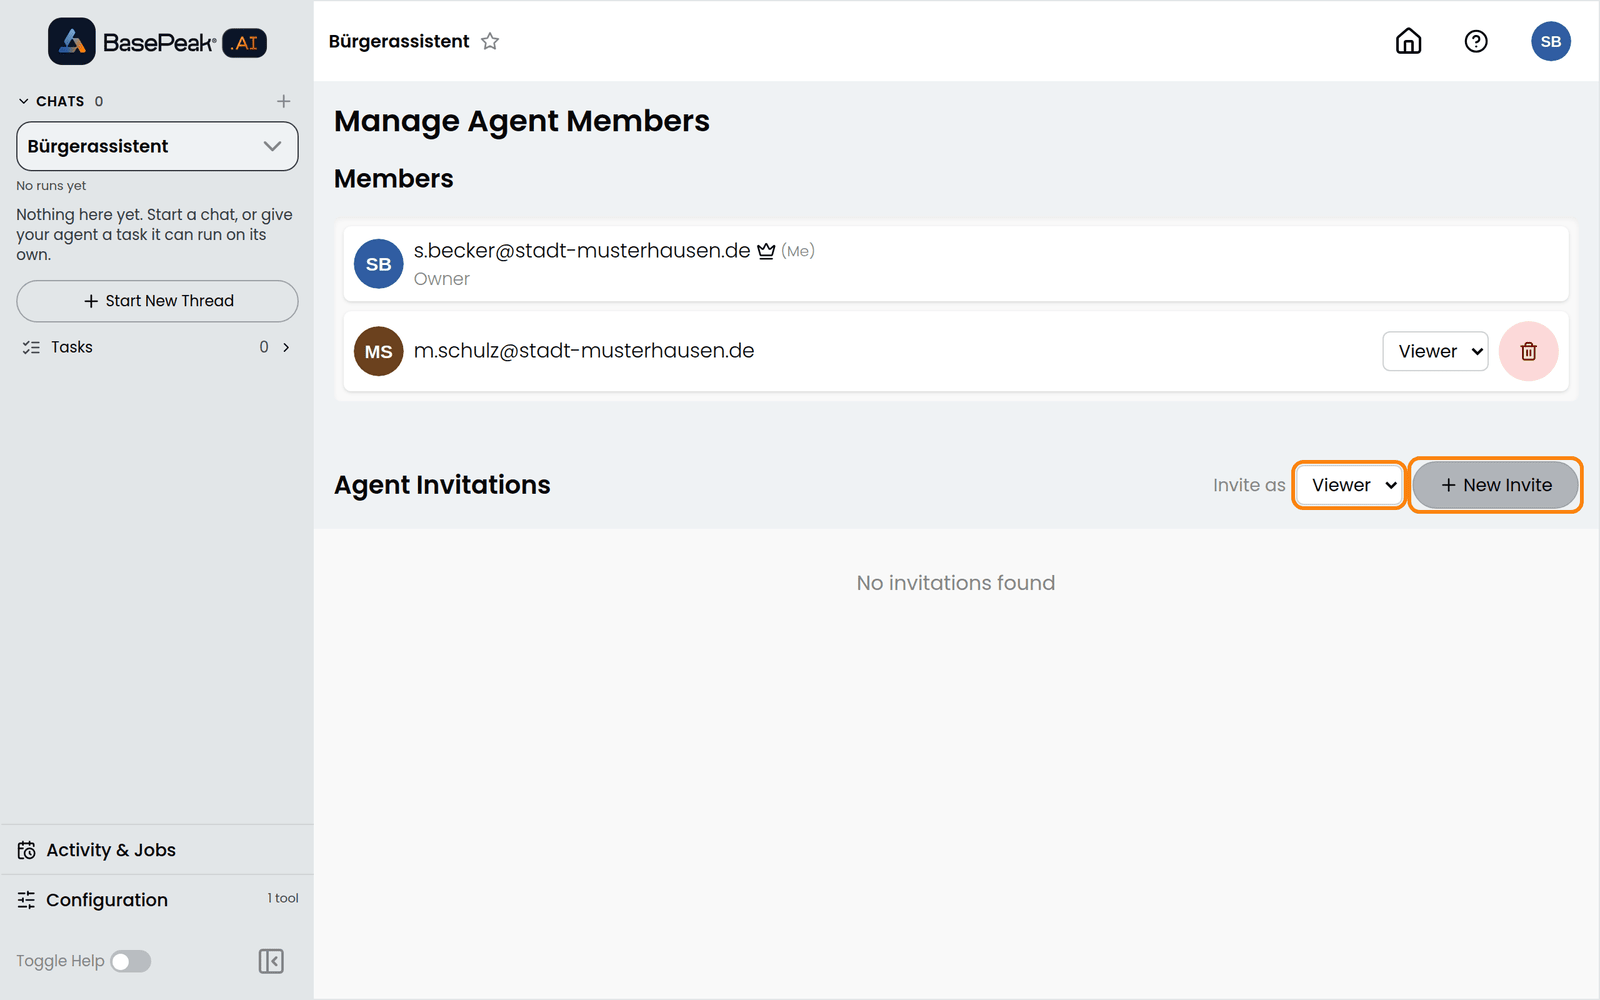
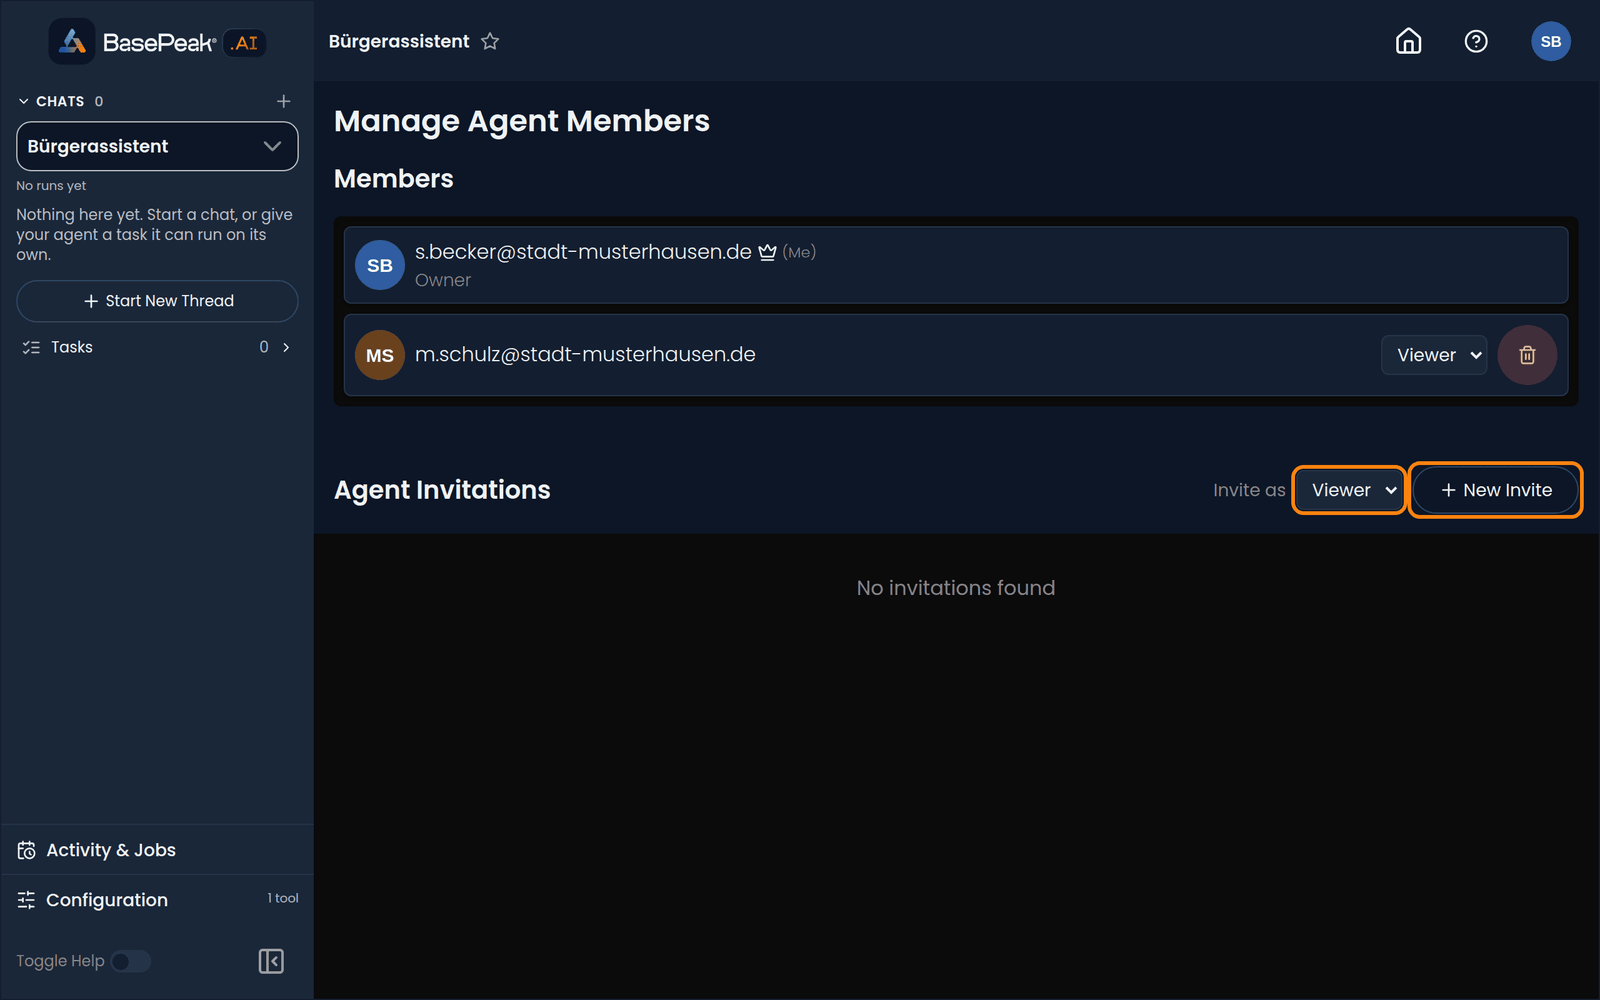
Under Agent Invitations, set Invite as to the role you want and click New Invite. The default is Viewer.
| Role | Chat | Change the agent | Manage members and invitations |
|---|---|---|---|
| Viewer | yes | no | no |
| Editor | yes | yes | no |
| Owner | yes | yes | yes |
The role applies to this agent only. The person's platform role stays Basic.
4. Copy and send the link
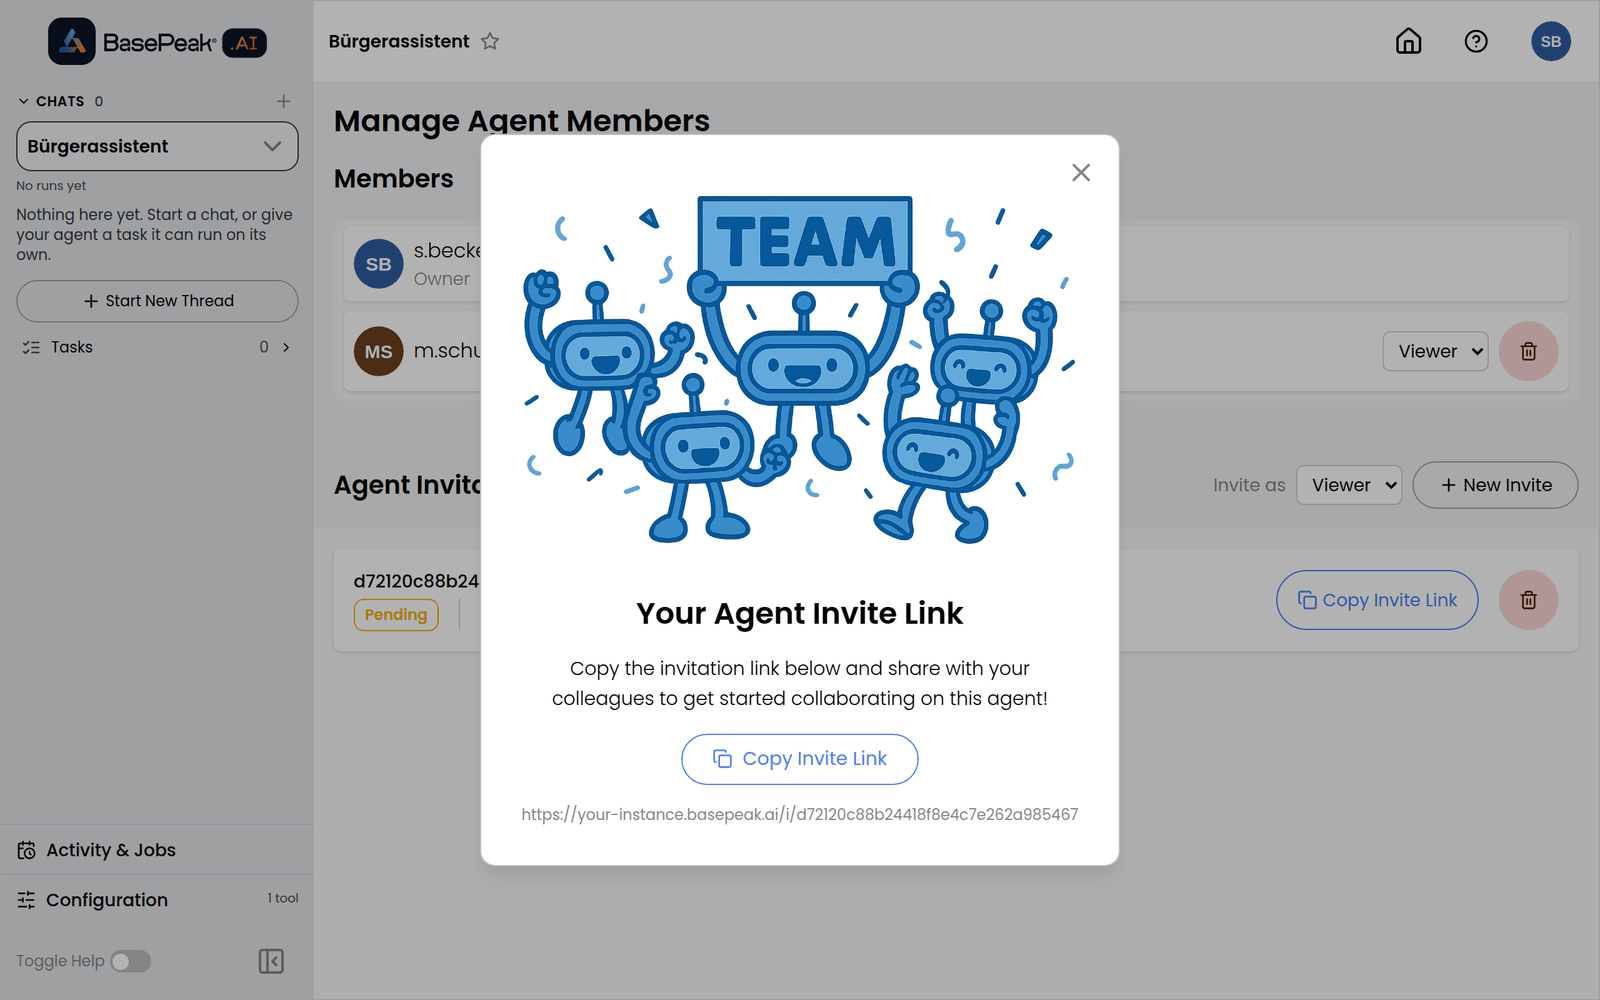
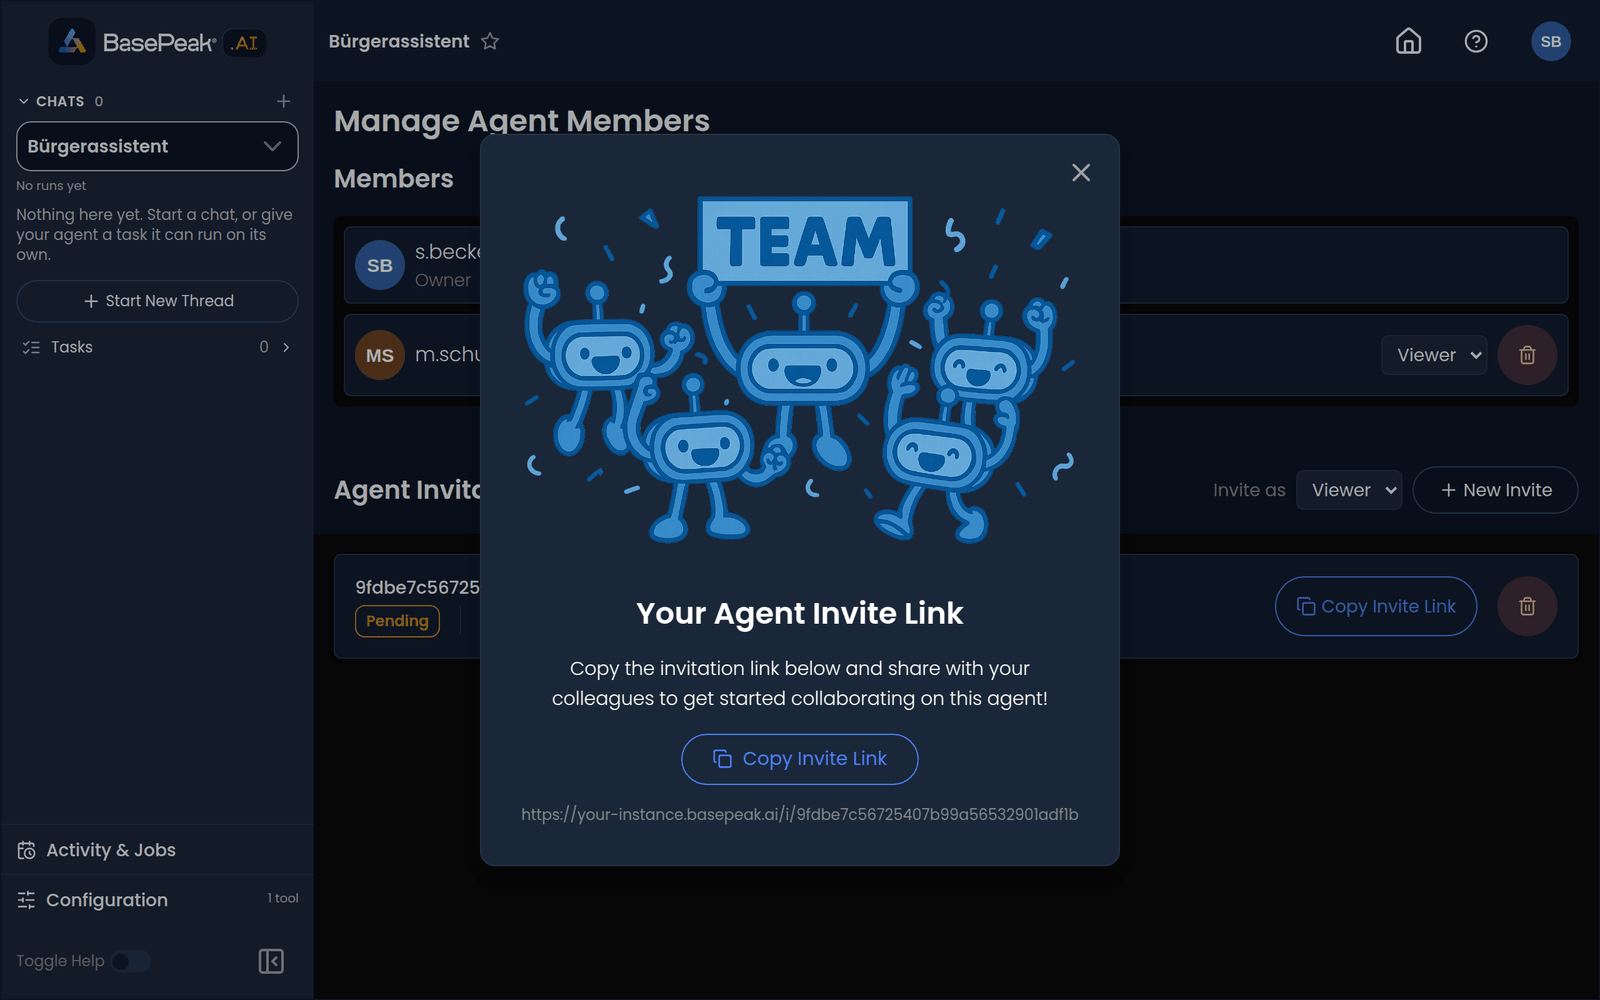
A dialog shows the invitation link. Copy it with Copy Invite Link and send it to the person, for example by email or chat. The invitation then shows up in the list as Pending. While it is pending you can copy the link there again. An invitation that is not accepted expires after 7 days; the person then sees "Invitation no longer valid" and you create a new one.
5. The invited person accepts
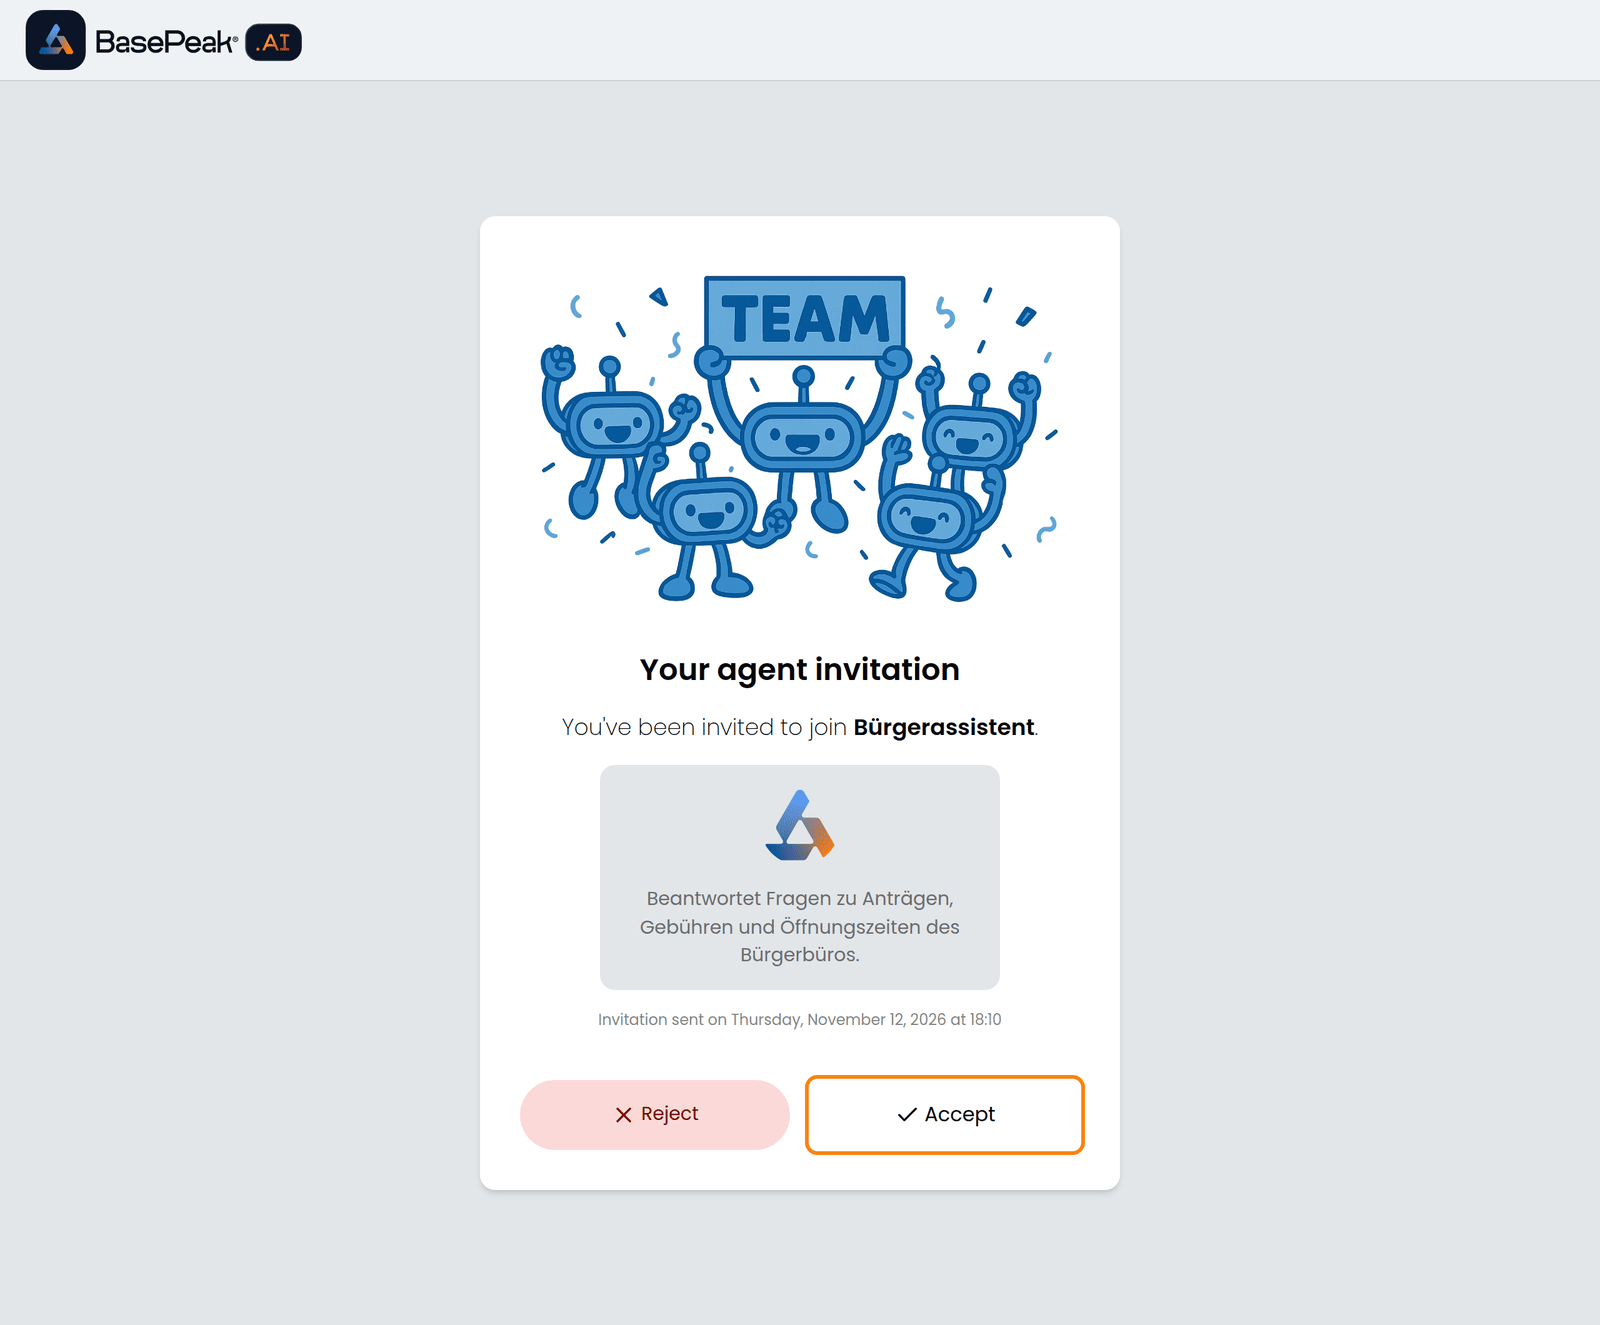
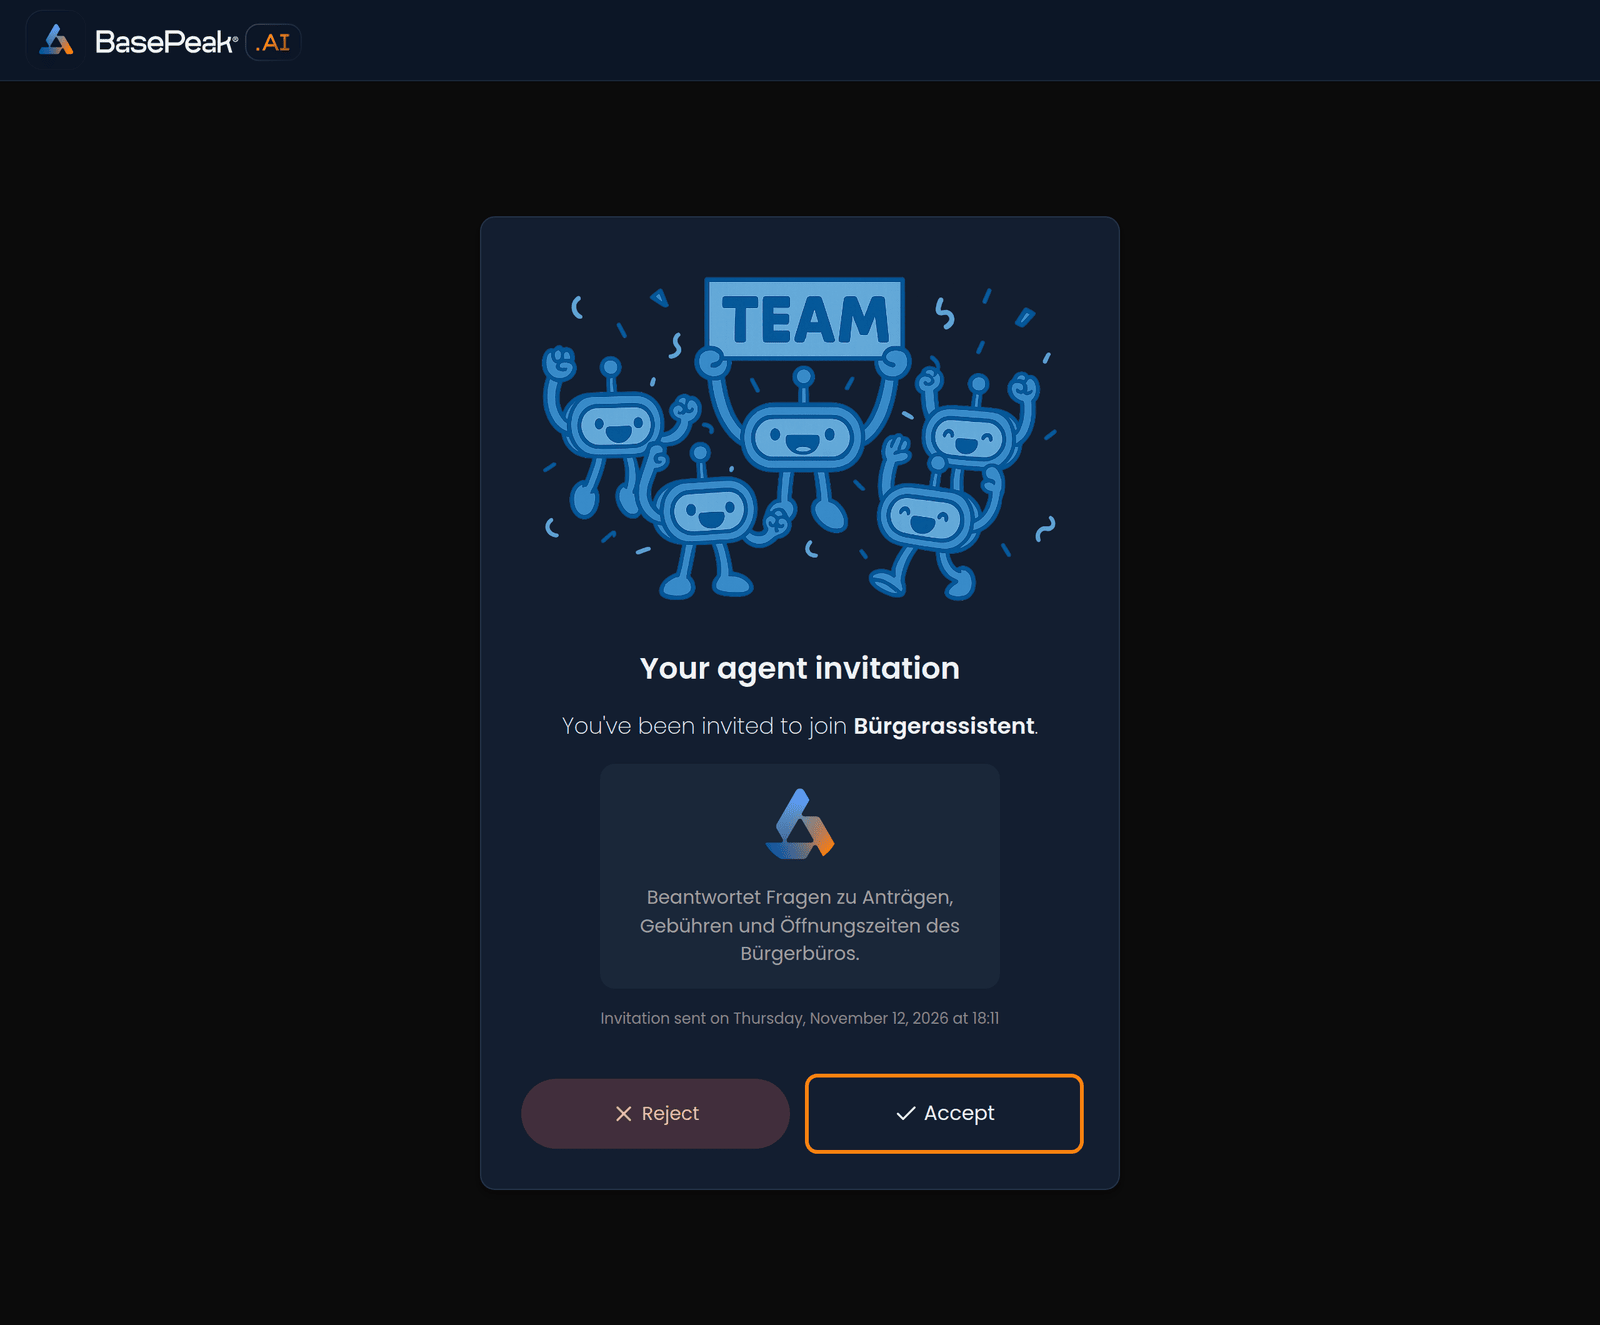
The person signs in with their own account and opens the link. They see the agent's name and description and click Accept. The agent then opens and stays in their agent list from now on. Reject declines the invitation.
An invitation link is for one person: once accepted or rejected, it is used up. Create a new invitation for every further person. The link is not tied to an email address: whoever accepts it first gets the role. Send it straight to the right person only, especially with the Owner role.
6. Change the role or remove access
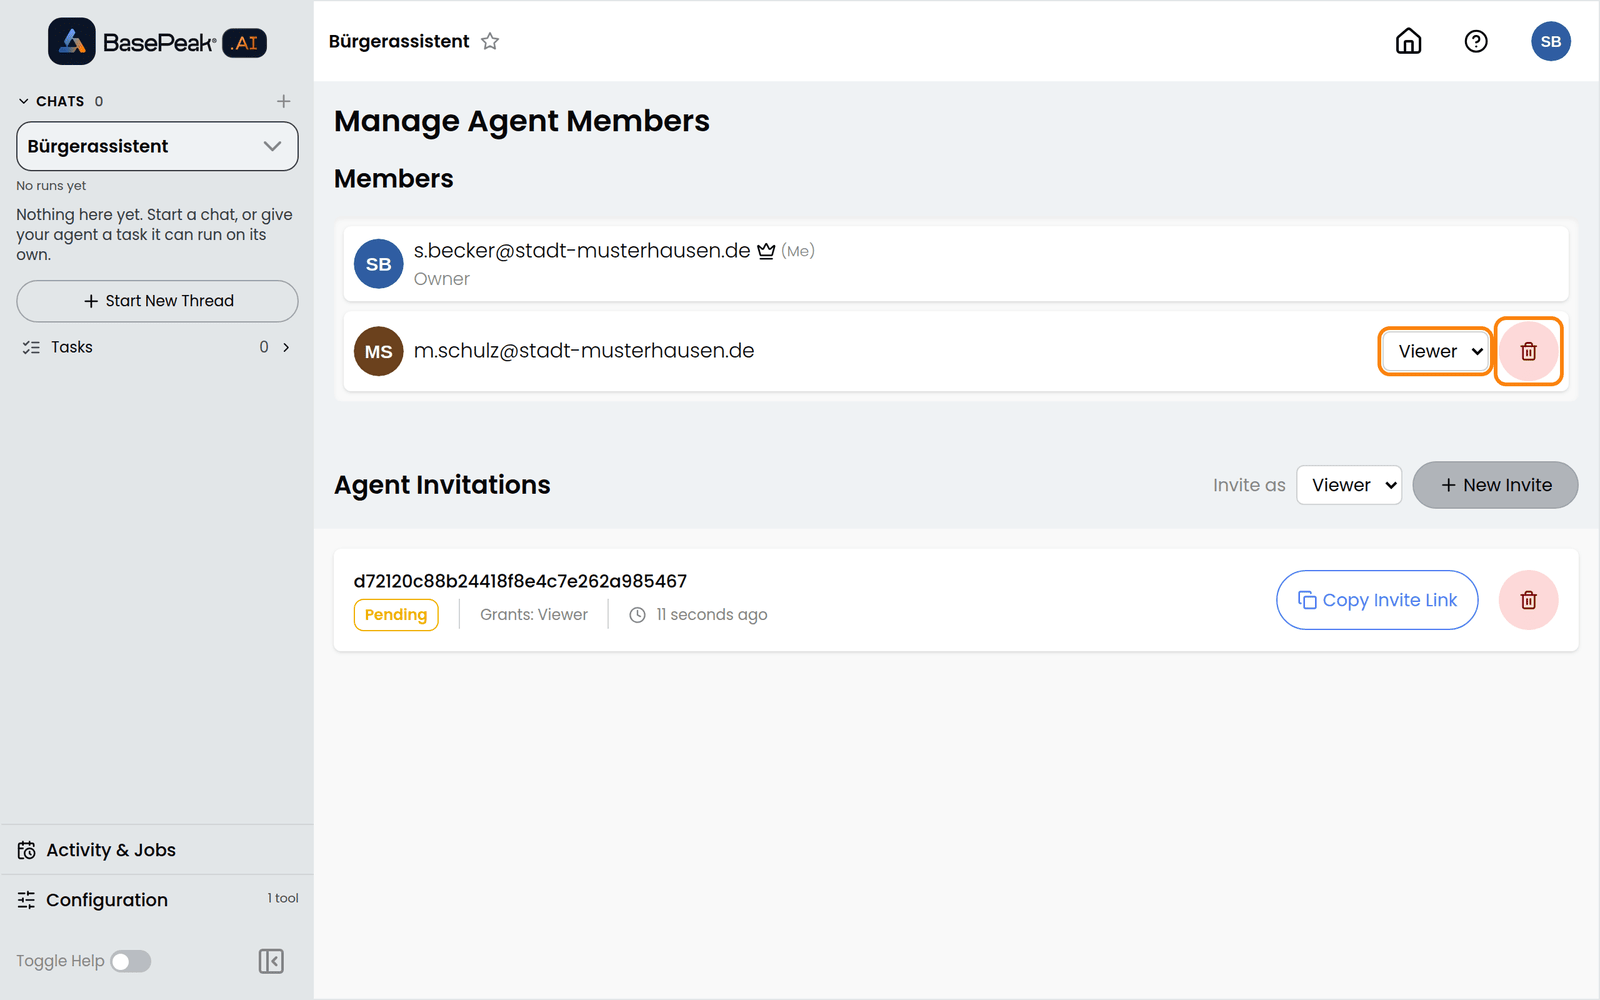
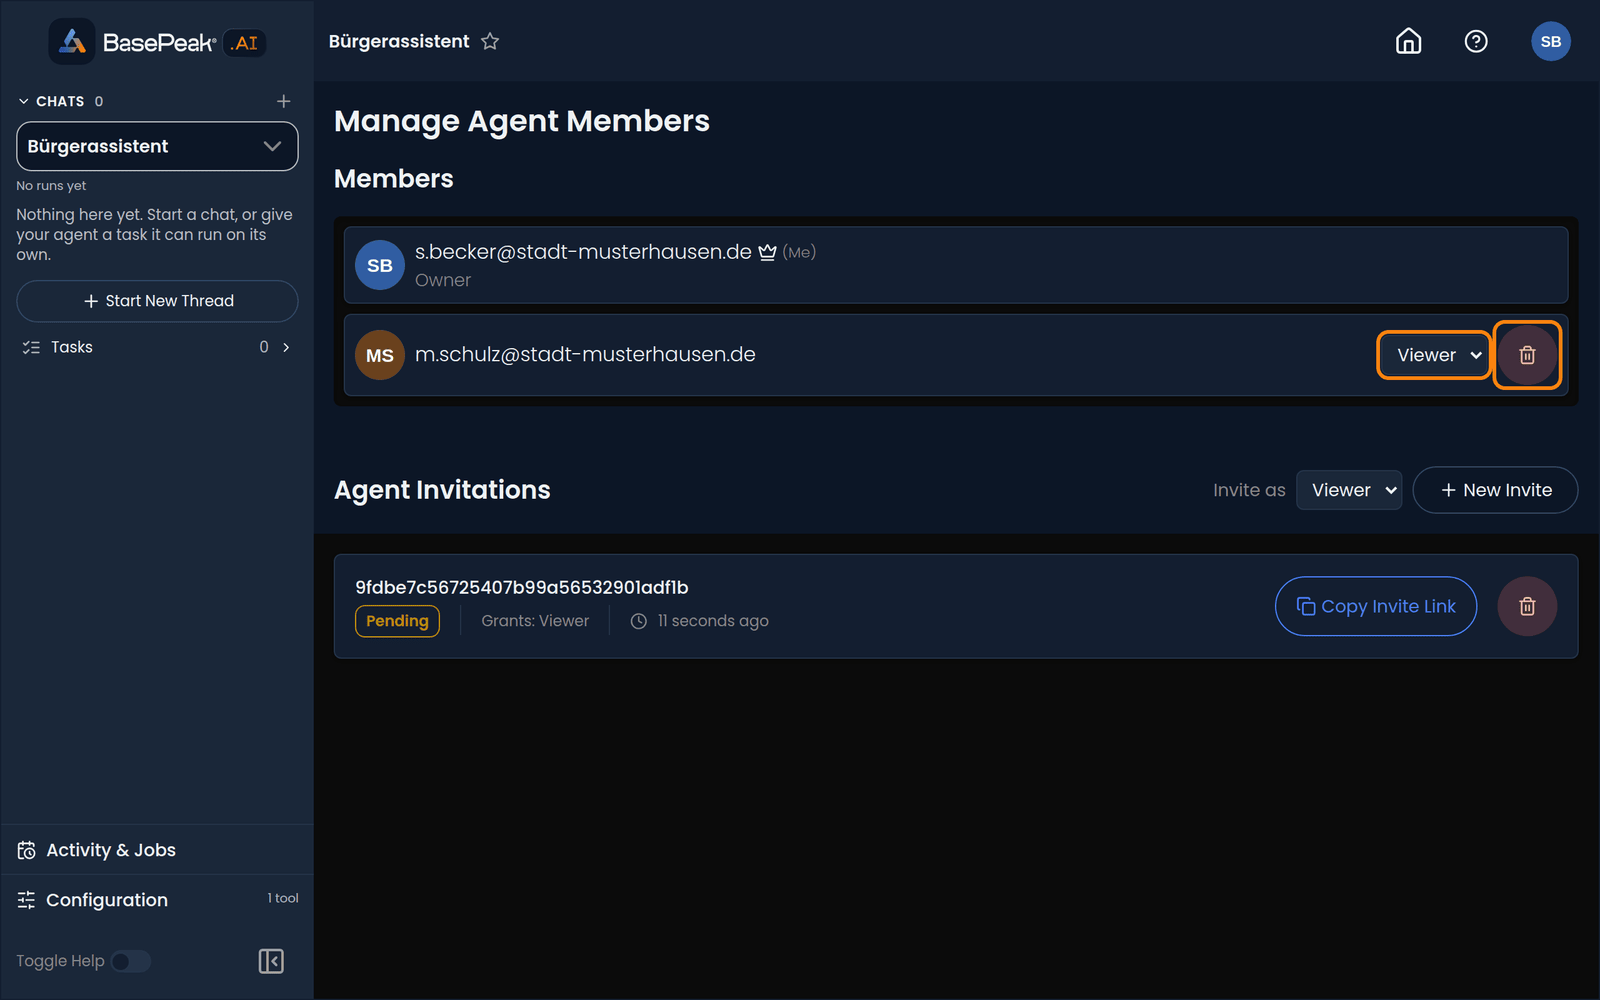
On Manage Agent Members the person is now listed under Members. Change their role there, or remove them with the bin icon. Access ends immediately. An invitation that has not been accepted yet is deleted in the list below.
Way B: a ChatBot link for several people
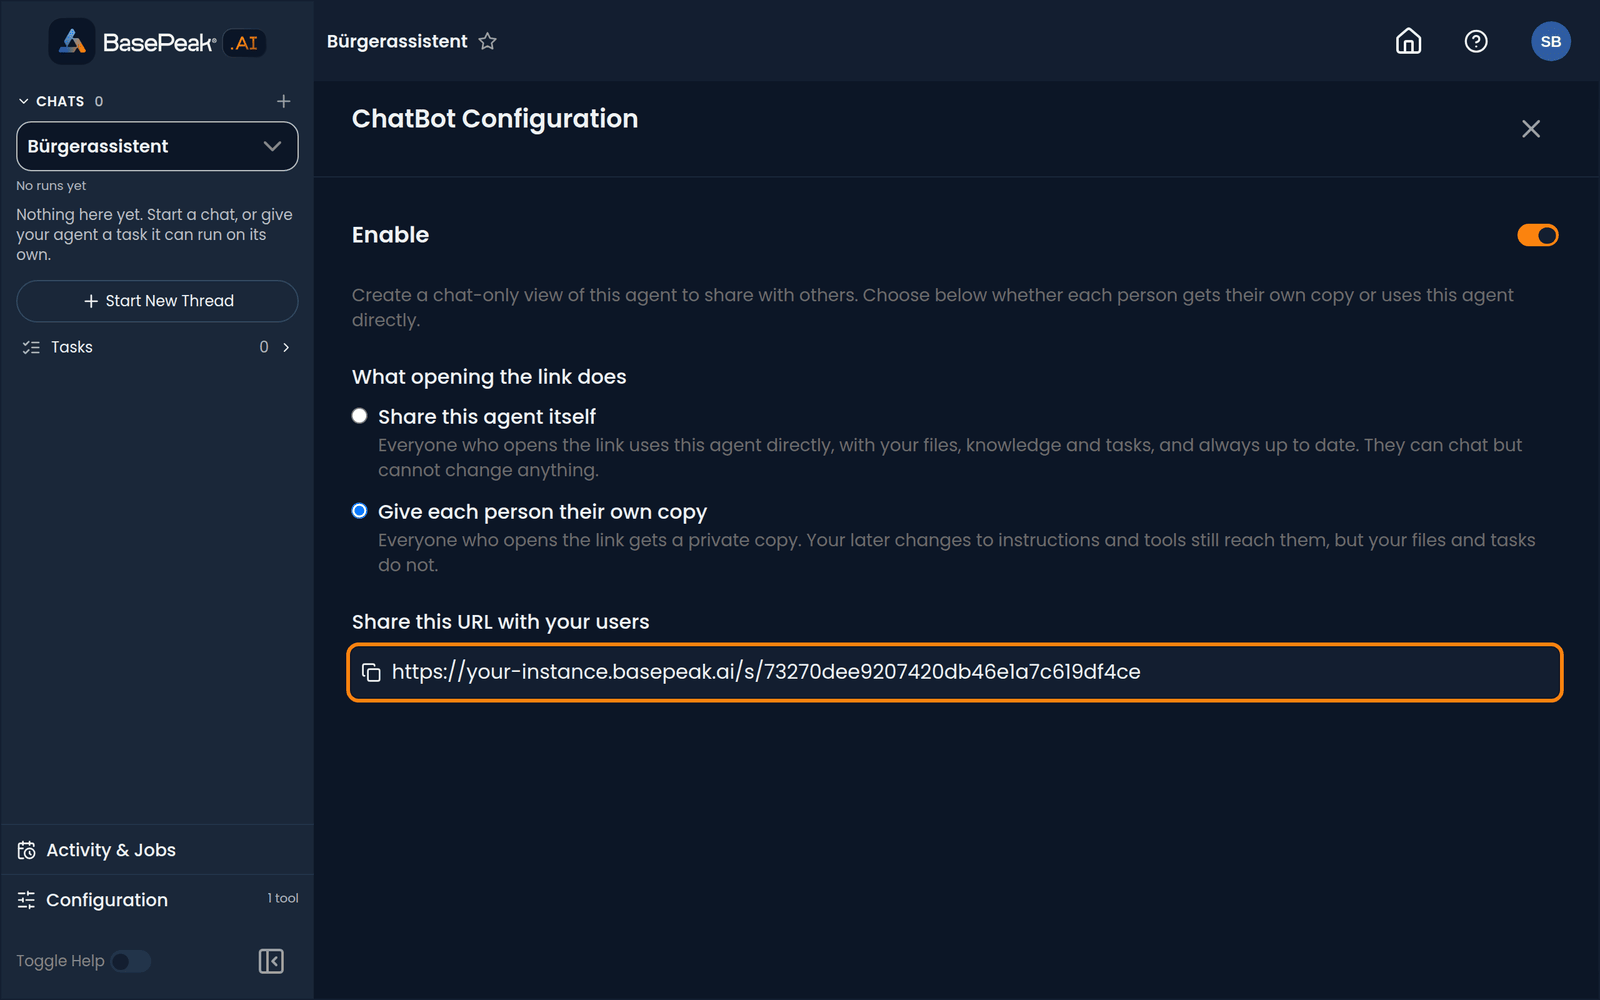
Under Configuration → Sharing, expand ChatBot, click Configure ChatBot and switch on Enable. Then choose what opening the link does:
- Share this agent itself: everyone uses your agent directly, with your files, knowledge and tasks, always up to date. They can chat but cannot change anything. People who join through the link show up under Sharing → Members, where you can remove them one by one.
- Give each person their own copy: every person gets a private copy. Later changes to instructions and tools still reach it, your files and tasks do not. The copies belong to the people who received them: switching the link off stops new copies, but existing ones stay.
Then copy the URL under Share this URL with your users and hand it out.
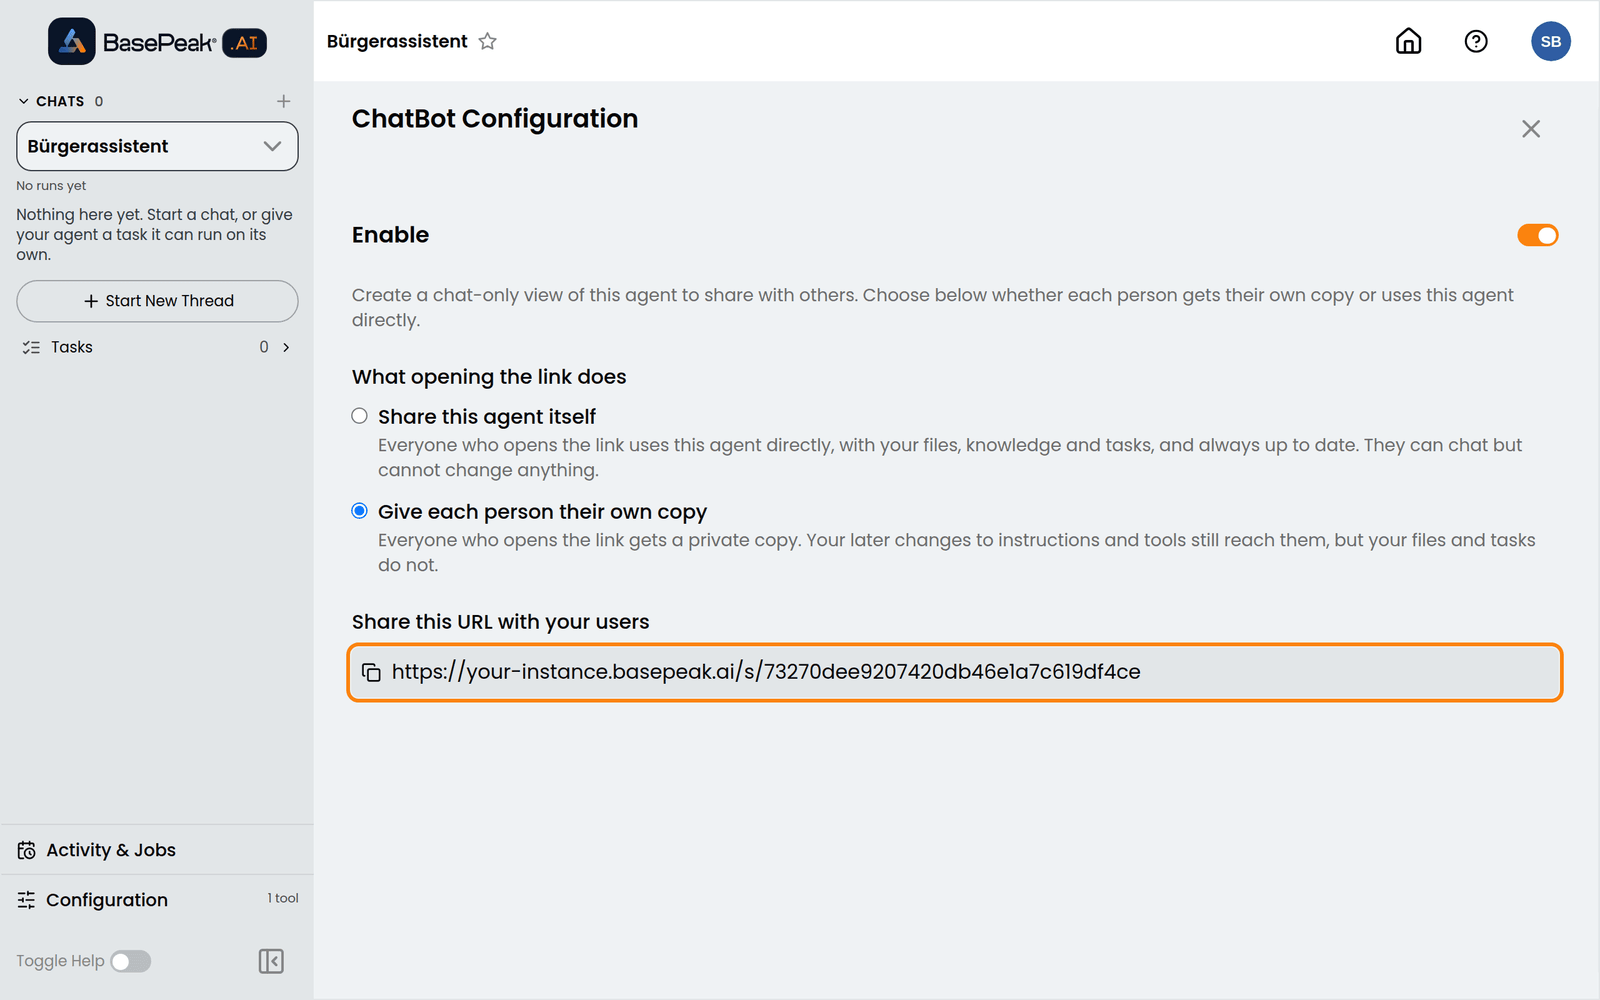
Switching the link off, or switching it to Give each person their own copy, removes access at once for everyone who joined through the link directly. When that affects anyone, BasePeak.AI asks first and usually tells you how many.
Making an agent available to many users
Making an agent available to a whole group or to all users is an administrator task: in the admin area, the agent's access control sets which users and groups can reach it. Projects can also be marked Public or Featured (see Projects).